Wednesday, January 20, 2016

Our Kitchen Progression | The Heart of the Home

Hello Readers,

Hope you all are having a great start to the New Year!

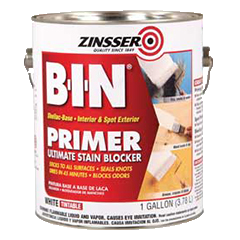
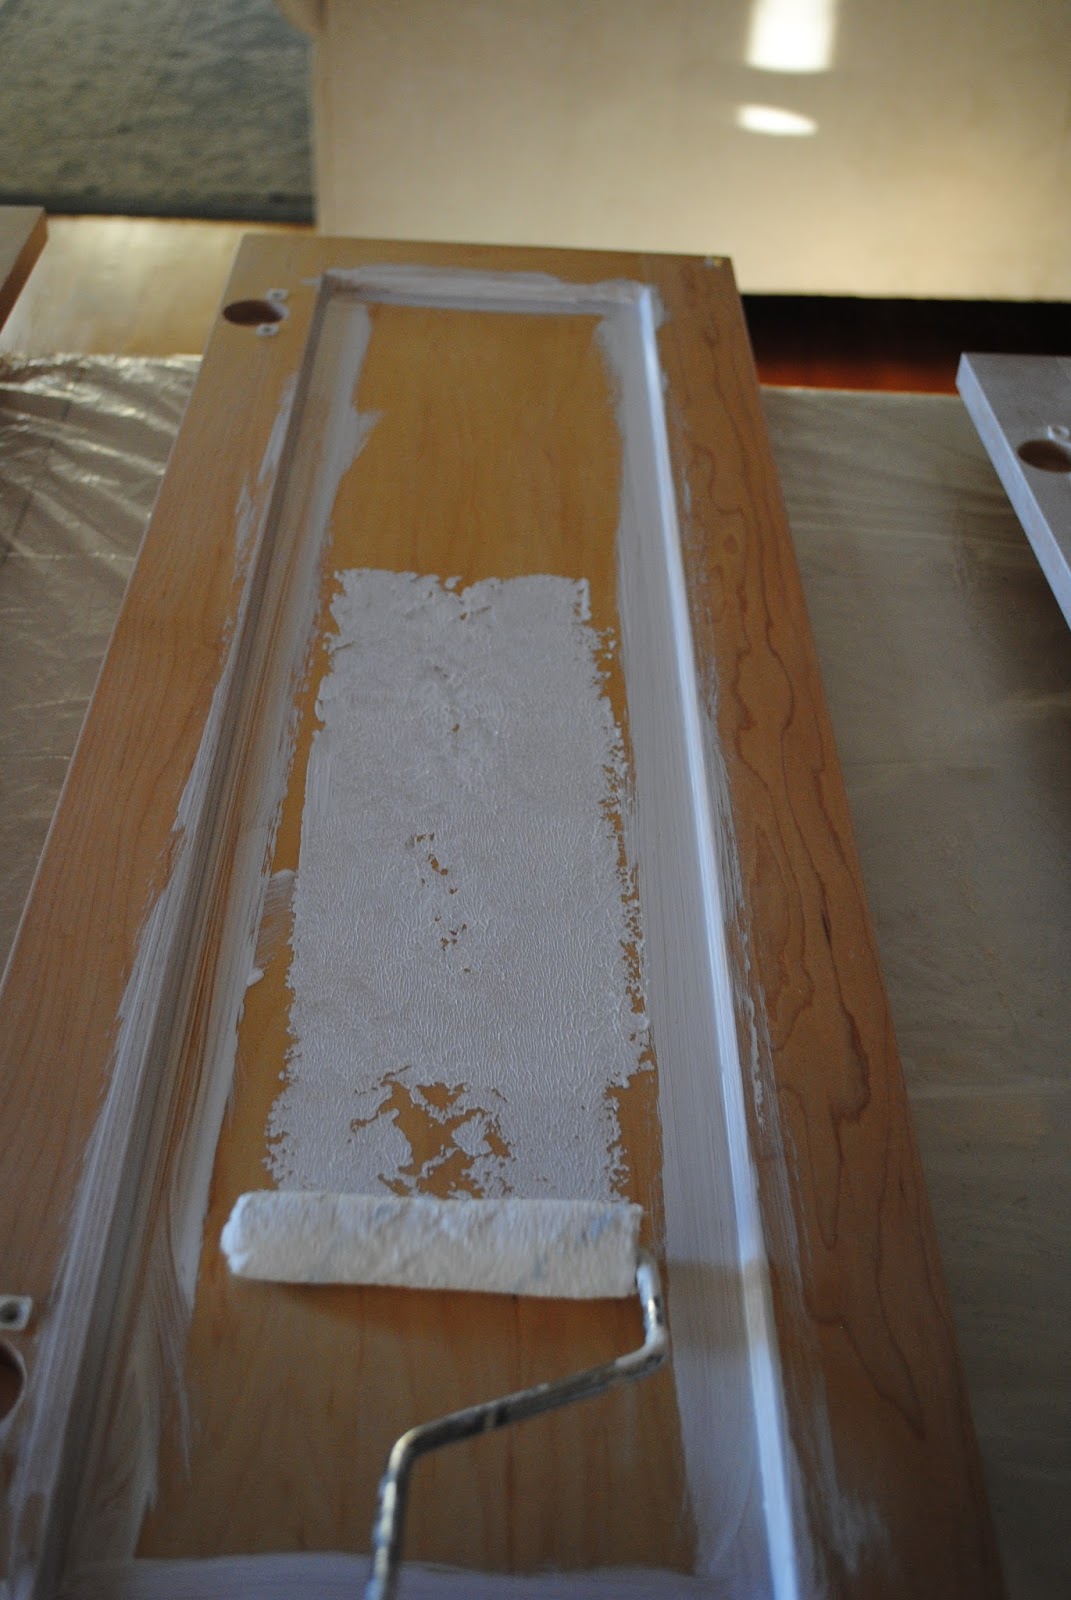
I recently shared my tutorial on Painting Kitchen Cabinets.  I still can't believe I finally had the courage to complete this project.  For years, I had been wanting to tackle this and I thought it just couldn't be done.  I am so pleased with the results and it has held up beautifully through the holidays. 


A lot has happened in our home since this project and I thought I would share with you where I am at design wise.   

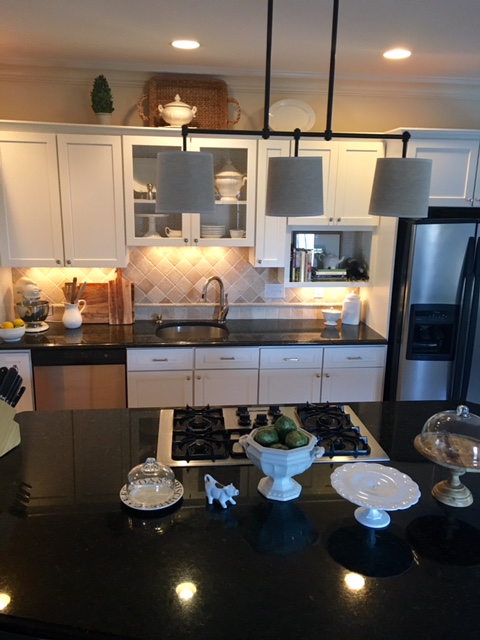
I found a great roll of craft paper at Joann's to put in the glass cabinet.  Before it was very bland with my white porcelian collection...but now my collection POPS. 


I even put the paper in my makeshift cook book/wine nook.  Everything pops and my elephant teapot gives the nook whimsy.   I did consider turning this nook into a wine rack.  I am still undecided...  I really like the personality and options this nook allows me to bring in with accessories. 


You have texture, pattern and personality--I  absolutely LOVE my new kitchen.  


Next up was the light that inspired a complete 'switch-a-roo' of our furniture in the kitchen..

This light was all brass and I scored it from the Habitat Store for $23. (Yes, $23 dollars!)  If you ever shop for light fixtures you know this is a great deal. All it needed was some black paint to totally transform it. 

I thought about replacing my DIY Rope Chandelier with this one, but instead decided to keep both.  It was then that it only made sense to move the table in the unused open area and hang the new light over it.  Very exciting..

 The floor plan flows so nicely now and it was almost like this open space was meant to be this way.  It only took me 12 years to figure this out.  (*pats self on back.)

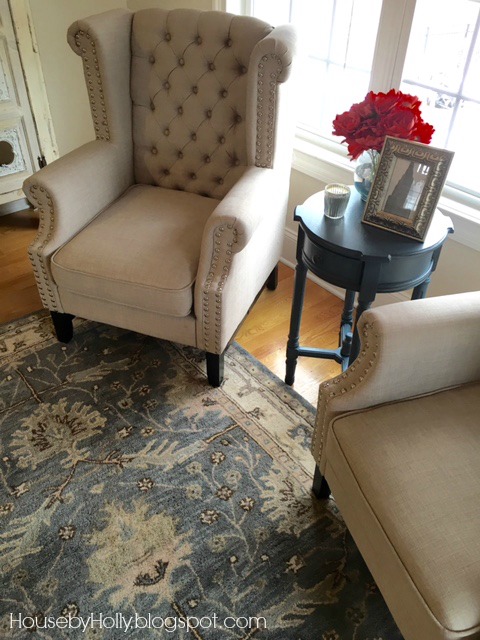
So what did I do with the area where the table was? I turned it into a sitting area.  When we entertain everyone is always in the kitchen, I thought this was a perfect idea for the over flow of guests who would like an additional spot to relax.

  PLUS, Mr. House and I have our morning catch up here every day.  It's cozy and I love it.  

It's come a long way...


Does your house change for the better?  Are you thinking about painting your kitchen cabinets? Have you already done it?  I'd love to hear your stories.


From my house to your house, Happy Hunting!


 photo bcae8504-8846-4d56-8a1e-e38ee54656cf_zpsf2f14c24.jpg

Let's Connect!
 photo pinterest_zpsce3157c2.png  photo facebook_zps6e141a1a.png  photo email_zps02408533.png  photo youtube_zps504f1e67.png

Linking to: Savvy Southern StyleSavvy Southern StyleMust Love Home

 UA-49484568-1


Monday, January 18, 2016

Tutorial on Painting Kitchen Cabinets | Updating a Kitchen

Hi Readers,

Last month I shared our delicious creamy white cabinets.  I chose Benjamin Moore's White Dove. 


Now it's time to get down to the nitty gritty..

After much research and listening to my intuition these are the two products I swear by for this job.

 
Mr. House suggested I use a scrap piece of wood to test out the products I wanted to use.  I did try two that were recommended and I didn't like them.  

Then a light bulb went off-- I used the Zisserner Bin Primer for shellac on our Knotty Pine Paneling  a few years ago and it has held up fantastic.  It gave us a smooth finish and we still have no scratches and no flakes. 

  I decided to go with the same product with an ultimate stain blocker for our kitchen cabinets.   
This primer dries very quickly and it does have a smell, so I would suggest opening the windows or wearing a mask. It's one of those paints that you get on and get out. 


Benjamin Moore's Advance Paint is made specifically for kitchen cabinets.  

Finally a product that has been created for this purpose!  (*The crowd goes wild.) 

It has a self leveling quality that will give you that smooth finish you are seeking.  Many blog tutorials that I have read claim that they would use Benjamin Moore's Advance paint if they had to do it over again just because of that.    


Painting Pyramids--These guys go under the four corners of the doors and drawer fronts for no smudging.  An absolute necessity if you are planning to paint your cabinets. Otherwise you would get runs and smudges. Not fun.

My guy, Mike, at the Paint Spot, recommended these 4 and 6 inch Whizz Microfiber Rollers for a smooth clean finish.  Look closely, they are not like the traditional roller you would normally use on walls.  The threads are longer. I like the finish from these way more than foam rollers.  


A 180 grit sandpaper to lightly take the sheen off of the cabinets.  I did mine by hand, but you could use a sander.  


Let's Get Started: 

Here's a schedule I put together to keep your sanity and to give you a good idea of how long this project will take. I broke mine up by doing the island first waiting a few days, then doing the rest of the kitchen.  In addition to the cabinets I painted a total of 27 doors and 12 drawers!  Big project, but totally worth it.  

Day 1-

1.   Create a work space with tables and drop cloths. This can be outside or inside.  I chose inside because it was raining. 


2.   Remove all door and drawers. This will get moving once you get going.  I used a cordless drill and kept a phillips screwdriver handy just in case. 

3.   Remove all hinges and knobs. I also used bowls to hold all the different hardware.  Knobs in one, screws and hinges in another, etc. This kept me organized during the job and easy to get going in the end. 


4.   Wipe down cabinets, doors and drawers with a degreaser. Make sure you get off all the food splatters.  They will show through the paint if you don't.  

5.   If you are changing your hardware and it doesn't fit in the existing holes, this is the time to plug the holes with wood putty.  You will need to let this dry for a few hours and then follow with the next step. 

6.   Lightly sand all cabinets, doors and drawers. Just enough to knock the sheen off.  Use this time to sand down any unsightly scratches or dents.  When you are done it's very important to wipe the cabinets, doors and drawers with a tack cloth to insure a clean surface to paint.  

7.   Tape all areas off for a clean line. I taped the floor, under the countertop (where it meets the cabinet), back splash, oven, etc. 

Day 2-

1.   Position all the cabinet doors on their back side with the painting pyramids and open that can of primer paint .  Use a paint brush first for the groves on the doors, drawers and cabinets. 


Then follow up with the roller.   I found that by using the brush first for what you need to do, then using the roller will hide the brush marks and give you a nice finish.


The cabinets, doors and drawers will get 2 light coats of primer paint.  Once the doors are finished drying on the back side, flip them over and give 2 light coats on the front.  If you notice any runs on any part of the cabinets, sand them once the paint is dry. This will dry for the rest of the day and over night. 

Note: I started with the doors and drawers first, gave them all 1 coat and moved onto the rest of the cabinets.  By the time you are done with that, you are ready to repeat for the second coat of primer.


Day 3-
1.   Turn doors back on the back side and paint all cabinets, doors and drawers using the Benjamin Moore Advanced Paint.  You will need to do only 2 light coats of this latex paint.   
After a few hours of drying flip the doors back to the front and give them 2 light coats of latex paint as well. Then let all cabinets, doors and drawers dry for the rest of the day and overnight. 

Note: The last thing you want to do is plop on thick coats of paint for this project.  Take care to use the painting tray to squeeze off the excess paint.  This is the step that will either make your cabinets look professionally done or like you did it yourself. 


Day 4-

You are in the home stretch!  Install all hinges and knobs back in the cabinets.  If you plugged the holes for hardware, drill new ones and install new hardware.
Hang cabinet doors and drawers!  This is when you really get excited at all that hard work you did and everything starts to come together. 


With little bit of patience and time, you too can give your kitchen a whole new look!


What do you think?

From my house to your house, Happy Painting!


 photo bcae8504-8846-4d56-8a1e-e38ee54656cf_zpsf2f14c24.jpg

Let's Connect!
 photo pinterest_zpsce3157c2.png  photo facebook_zps6e141a1a.png  photo email_zps02408533.png  photo youtube_zps504f1e67.png

Linking to: Savvy Southern StyleMust Love Home

UA-49484568-1