Wednesday, October 3, 2012

Two OLD Pieces, Two NEW Ways...


Hello, Hello People!


Today I have a little inspiration for all those people who want to recover an ottoman, but are afraid to try.  You can do it and it can look like this...


Ooooo...Ahhhhh...look at that nailhead trim!

This glider ottoman was a gift from my Uncle when my daughter was born. I propped my tired feet on it every day rocking my babies to sleep for the last 6 years. 

The kids have gotten bigger and their rooms have gotten smaller, so I have no need for a gliding rocker or gliding ottoman, for that matter. 

Since it's a "gliding" ottoman, I tied a string around the hardware where the glider glides on all four sides.  This made the ottoman stable.  You could use zip ties too...

Looking through a bin of fabric, I found an old padded chair cover with a navy and cream toile pattern.   I instantly had a brilliant idea...

I guess you could say I was a little LAZY...I could drag out my sewing machine, make the piping, sew it to another fabric of choice, but I really liked the idea of getting the look without all the work...


The chair cover had just enough padding already, and some great piping too. The skirt also happens to go all the way around the chair...

Are you thinking, what I'm thinking? :)

Place the seat of the cover over the top of the ottoman and cut about 3 inches down and all around the chair. (You will pin the skirt back on in a minute.)

When you get to the part that goes over the "back" of the chair, pull or rip the piping off, but do not cut it.  

Cut the "back" off 3 inches down and take out the padding.

view of the side with the "back" part

Place the piping back across the top and hot glue or sew back to the chair.  (The piping will lay right on top of the seam of where the "back" part started.) 

Staple all 4 sides of the fabric tightly to the ottoman.

Are YOU with me, yet?

Last, staple the skirt back on  and add a little nailhead trim to kick it up a notch.  


You can buy a roll of nailhead trim for about $20.  I like the "rope" where you hammer a nail in every 5th hole or so.  It makes it soooo much easier.

What do you think about my NEW Ottoman?


Some other SUPER EASY Nailhead upholster projects:
Here's my reupholstered Craigslist chair for $35!


mini mudroom makeover inspired this chair project for the foyer.  


What do you say? Are you gonna try it? 
Or am I gonna have to come over and do it for you? :)


To follow my projects and share my posts, join me on Facebook.


And as always, I love to hear from MY READERS!  Please leave me comments, post projects you have tried and feel free to ask me questions.


From my HOUSE to your HOUSE, HAPPY HUNTING!

Holly


If you enjoy reading HOUSE by Holly, please click the "like" button at the top of the page for Facebook. Or visit http://www.facebook.com/HouseByHolly and hit "like".  I will be sharing extra tips and tricks on that Facebook page I created.  And as always, I love to hear from MY READERS!  Please leave me comments, post projects you have tried and feel free to ask me questions.

Linking to:

Wednesday, September 19, 2012

Fall--Confessions of a Pumpkin Trapper...

Oh Fall...how I love thee!

Fall is fast approaching and I am so excited for my favorite time of the year.  Ok...I say that for every season, but I pinky swear-- this season is one of my favorites.  


What's not to love? 

The cooler temps for wearing LAYERS (yummy sweaters and cool boots), the turning colors of the LEAVES, visiting the PUMPKIN patch,  eating my way through all the FAIRS ( I gotta have my corn dog and funnel cake!), and the little reminder that another great year is coming to an end--so get to making some memories People!  

If you know me or if you read my blog, I am really into neutrals with a pop of color right now.  I also subscribe to the whole less is more thing...


You could say, I just like fall to kiss my house. delicately.


Mantle:

Owls are HOT right now. 
 I scored two of these porcelain owls for $4 at a tag sale in Vermont.  

Confession: For Halloween I will probably keep it the same, but change out the cannister contents for candy corns and spiders.  We shall see...

You can also just celebrate Fall by bringing in some Fall-ish pillows.

This one is from Walmart and is perfect for Fall. AND it just so happens to have the turquoise blue I have fallen for lately...

A touch of a ceramic pumpkin and an arrangement of mums is easy...


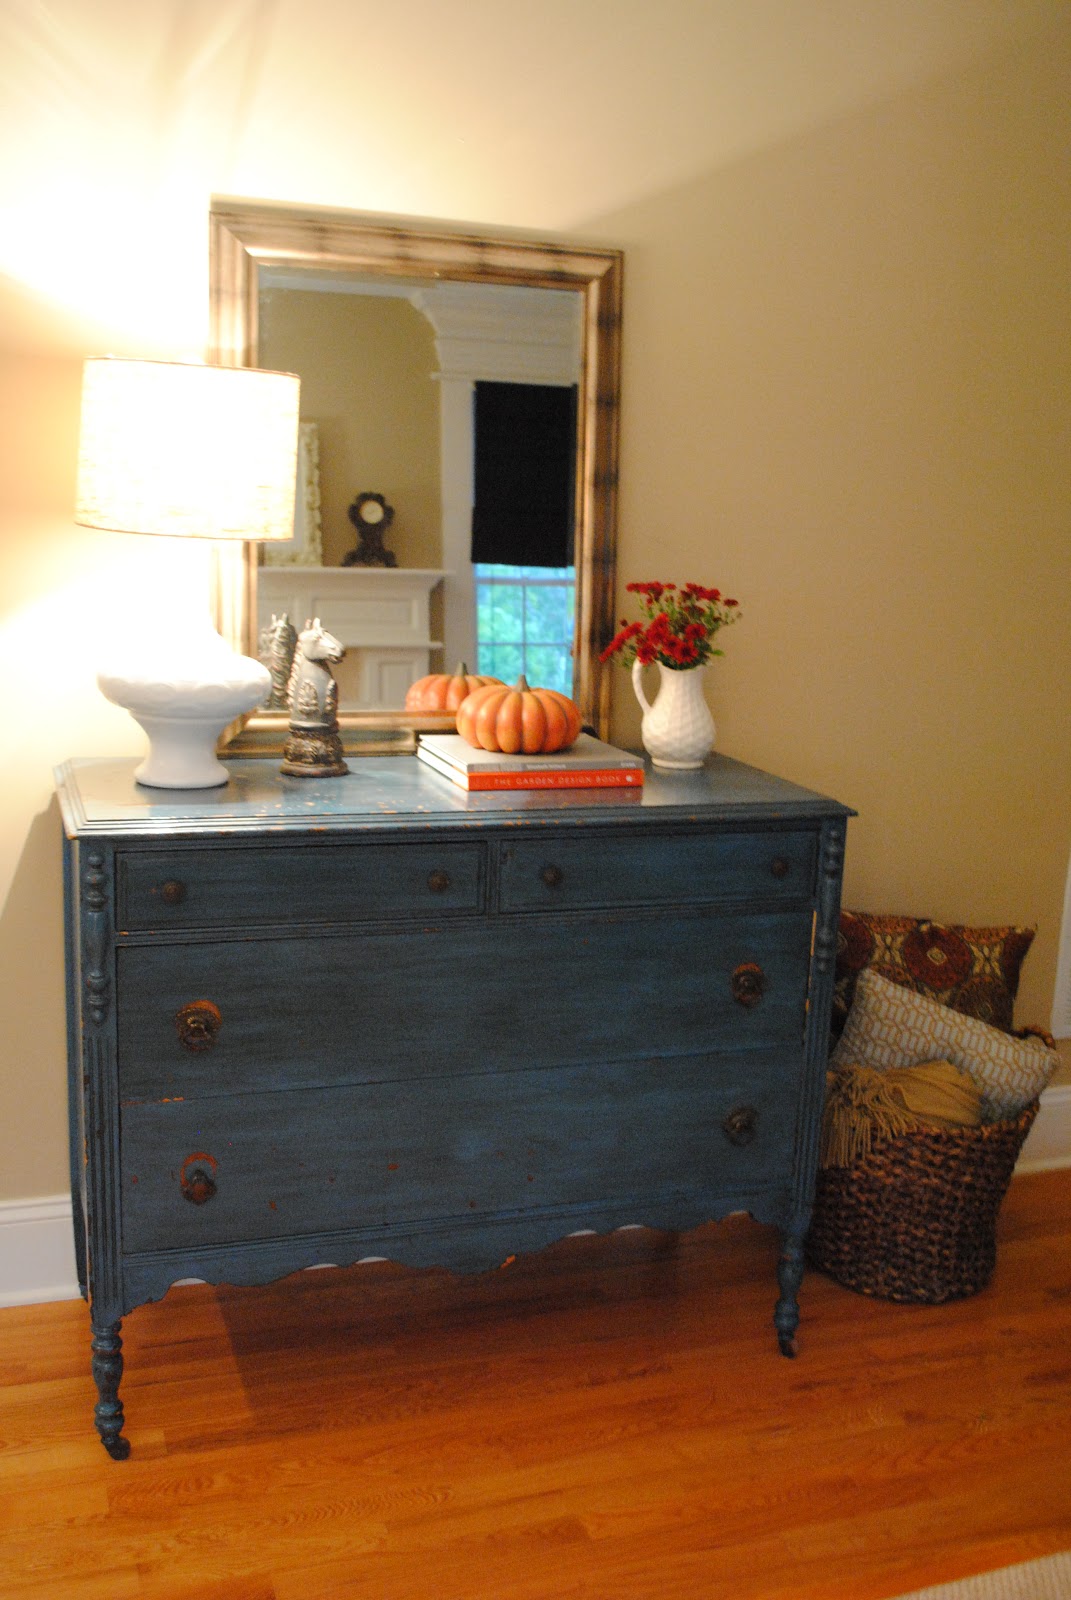
A "Fall-ish" pillow I found a few months ago at Walmart.  I love the contrast of the orange against the turquoise bureau.

To see where I got the gorgeous turquoise bureau click here.

Dining:

Ah Ha!  I caught me a little green pumpkin...


Confession: Do you recognize this fabric?  This is a Target curtain panel I folded in twice and ran down the table. You could also use the curtain panel as a table cloth... Shop your house People!


Kitchen:


Which one of these pumpkins is doing it's own thing?

Confession: A bundt cake with an ice cream cone turned upside down makes the perfect pumpkin treat!

Super easy and great for a Fall celebration or birthday party.  Couldn't you just see this for a Cinderella themed party?

Want a bite?

I found these pumpkins and table runner at Walmart. 
Confession: The centerpiece is a chip and dip basket...  

If you receive some of the big inspiration magazines, you may have noticed glitter, metallic pumpkins and metal are BIG this year.
Confession: Just before Christmas, I plant my potted mums here and there in my landscaping...
The foliage is a nice green ball from Spring until Fall.  Then I get luscious fall color in my yard and FREE flowers to decorate my table. 
Free for Fall!  Get it?  ;) 


Adding pine cones and berries keep the harvest bowl fresh. 

Just so happens so be a chilly Fall day....Come on over!


Gotcha little pumpkin!
Confession:  You can use those scary Halloween pumpkins for Autumn decor too.  Just turn those faces around!  It will be our little secret! ;)

Front door:


Every year, I get out my little red farm chair.  I scored this chair for $3 at a tag sale years ago and it fits the purpose perfectly with a lantern and owl.

Just add a little pumpkin and some mums. There ya go!  

What do you think?  How do you decorate for Fall? 
Get your TRAP on!


To follow my projects and share my posts, join me on Facebook.


And as always, I love to hear from MY READERS!  Please leave me comments, post projects you have tried and feel free to ask me questions.


If you enjoy reading HOUSE by Holly, please click the "like" button at the top of the page for Facebook. Or visit http://www.facebook.com/HouseByHolly and hit "like".  I will be sharing extra tips and tricks on that Facebook page I created.  And as always, I love to hear from MY READERS!  Please leave me comments, post projects you have tried and feel free to ask me questions.

From my HOUSE to your HOUSE, HAPPY HUNTING!

Holly
Linking to:
Savvy Southern Style
Thrifty Decor Chick
Centsational Girl
Southern Hospitality Blog
The Shabby Nest
A Stroll Thru Life
The Lettered Cottage


Saturday, September 8, 2012

It's All In The Details...

NAILHEAD detail, that is!

Hello People--


Recently I found a wing back chair on Craigslist for $35.  I had another use for this "find", but I couldn't resist taking it for myself.


The other day, I was floating around on Amazon and came across one of those wing back chair slip covers.  I've seen them hundreds of times and never thought twice, but this time I instantly thought maybe I could make this work...

This chair would be used behind my desk so what did I have to lose?


Here's a shot at the finished product...


A sad little wing back chair that needed new life.

This is the slipcover I purchased for $58.


             The final product was a little messy, but I was up for the challenge to make it work.


I lined up the seam lines and tucked.  


Then I spaced the nails 1" apart.


pulling, pinching, tucking and smoothing...


I opened the seam coming down on the "wing" and pulled and tucked it tighter.


Finishing with the nails.


I went around the arm rest tucking, pinching and pleating too.


I used the nails as pins to hold the fabric where I wanted it to go.  
When I was finished, I hammered all the nails in place. 


This project took about an hour and half. 
The finished look was well worth it.  

I didn't even need to drag out my sewing machine!


I like the blank wall with just the clock above and the vintage frames below.  
It reminds me that life is a canvas, and I am always open for inspiration. 
But being a busy mom, the reality is I need to know what time it is.  ;)


Do you recognize that turquoise mirror against the wall?  Click here to see the bureau and mirror I got for just $5!  A piece that inspired a total transformation of our Family Room. 


Click here to read about my very first post, which includes my desk that I found on the side of the road.  

Earlier this year I gave some other furniture NEW LIFE.  


Click here to read about my no-sew ottoman. You won't believe what I used!


Just a reminder that House by Holly is open for business!


If you like my ideas and would like some some advice please email me at HousebyHolly@yahoo.com


Join me on facebook http://www.facebook.com/HouseByHolly .  

And as always, I love to hear from MY READERS!  Please leave me comments, post projects you have tried and feel free to ask me questions.

From my HOUSE to your HOUSE, HAPPY HUNTING!

Holly

Linking to 
Thrifty Decor Chick
Miss Mustard Seed
The Shabby Nest
Savvy Southern Style
Southern Hospitality