What does your FRONT DOOR say about you?
There is nothing like a shiny black front door. I am obsessed with them, especially with all the gold hardware. With just a little bit of money, you can add some serious "curb appeal" to the front of your house.
After all, it's THE FIRST IMPRESSION.

The door I found here is simply delicious! The look is classic, noble, and polished. I also have been known to like a red front door too...
This is what were working with...

I have tried painting my door like this several times and it has never came out like I had planned.
You can see the marks of the spray paint and the gloss--not so nice, huh?I do go to the Benjamin Moore store a lot. I am on a first name basis with Mike, my trusty consultant. Who is fantastic and never steers me wrong. He even knows my kids names but that is another story (or post!)--well just say he is very quick to get me out of the store.
I explained to Mike how I lusted after a shiny black door and just as I am prepared for him to recommend a lovely oil based semi-gloss black paint for the job...he directs me to a semi-gloss acrylic paint.
No paint stripper, no oil paint just a semi-gloss acrylic water based paint. Really? Didn't I already try it that way? He's the professional though, so I decided to go with it...
Mike then showed me a brochure with a grid and number system used for painting a front door. Starting with the number 1, and working to number 5, working with each panel one by one. Apparently you just can't slather your door in paint and expect it to look good.

I had no idea! Isn't Mike great?
This is the paint he recommended...

Mike instructed me to use a dry brush to get the dust out of the grooves and wash the door with a large sponge--TWICE.

I did just as he said.

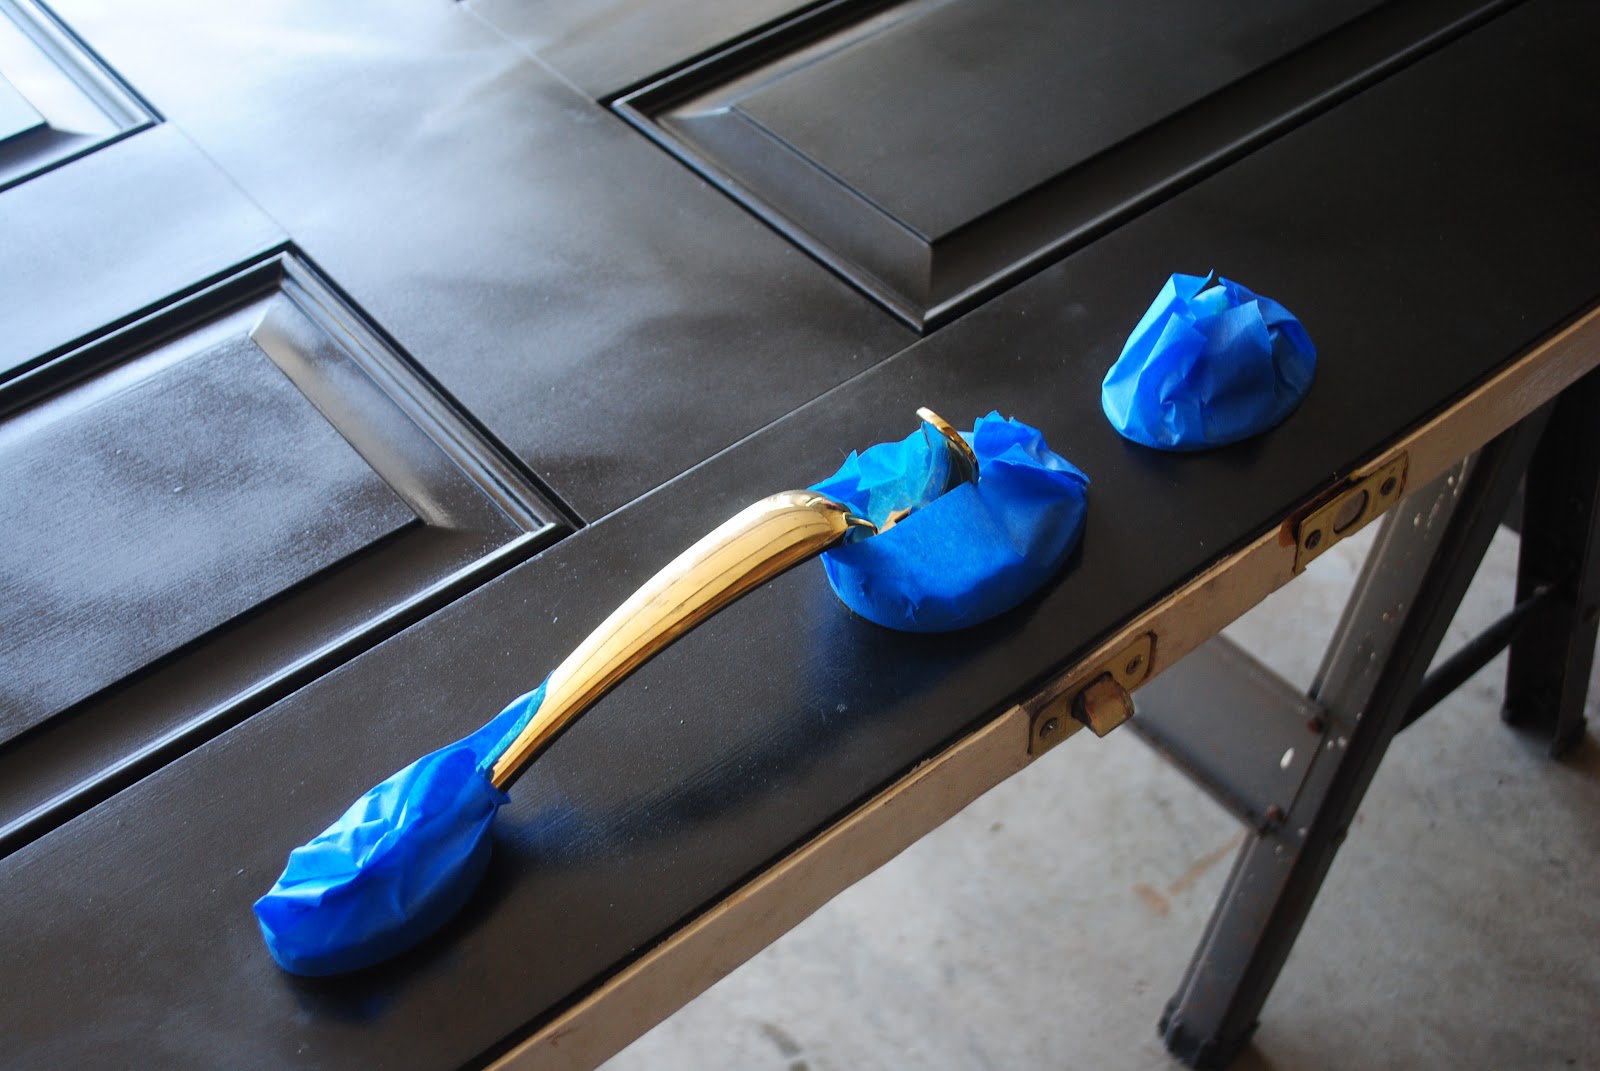
Then I took the door off the hinges, laying it flat on a pair of horses(in the shade), and taped off the door hardware. Panel by panel, I painted with a brush. Repeating to myself what Mike had said, "get the paint on and then get out...don't mess with it too much."
When the door went back up on the hinges, I stood back, called the whole family out, smiled and---
it looked just like it did before I painted it.
I am NOT a quitter people! Now it's personal...
I wasn't going to sleep until I got this right (seriously). This time, I left the door on the hinges and used a roller brush on the panels, not the molding. I had an hour and a half before I had to pick my daughter up from school, so it was CRUNCH TIME!
I followed the grid system just like the chart showed, but since I was in a rush--I used my blow dryer to quickly dry the paint after I painted each panel.

One by one, after I used the blow dryer the panels were drying shiny with no patchy spots.

Can you believe it? I don't know if it was the roller or the blow dryer and WHO CARES?!
Ding Ding... We Got A Winner!
I got a SHINY black front door!

This season, I am obsessed with boxwood's in pedestal pots...

To see what a little spray paint can do for your outside light fixtures and terra cotta-- click here

Don't forget the gold jewelry!

Hubby was nice enough to put these two pieces on for me. It's always all about the details.
Installation took about 15 minutes...

What do you think? Third time's Fourth time's a charm!
Paint $15
Door Knocker $15
Door Bell $20
What does your front door say about you?
I would love to hear about it.
From my HOUSE to your HOUSE, HAPPY HUNTING!
linking to
Thrifty Decor Chick
Southern Hospitality
Shabby Nest
A Stroll Thru Life
Savvy Southern Style
Jennifer Rizzo
If you enjoy reading HOUSE by Holly, please click the "like" button at the top of the page for Facebook. Or visit http://www.facebook.com/HouseByHolly and hit "like". I will be sharing extra tips and tricks on that Facebook page I created. And as always, I love to hear from MY READERS! Please leave me comments, post projects you have tried and feel free to ask me questions.